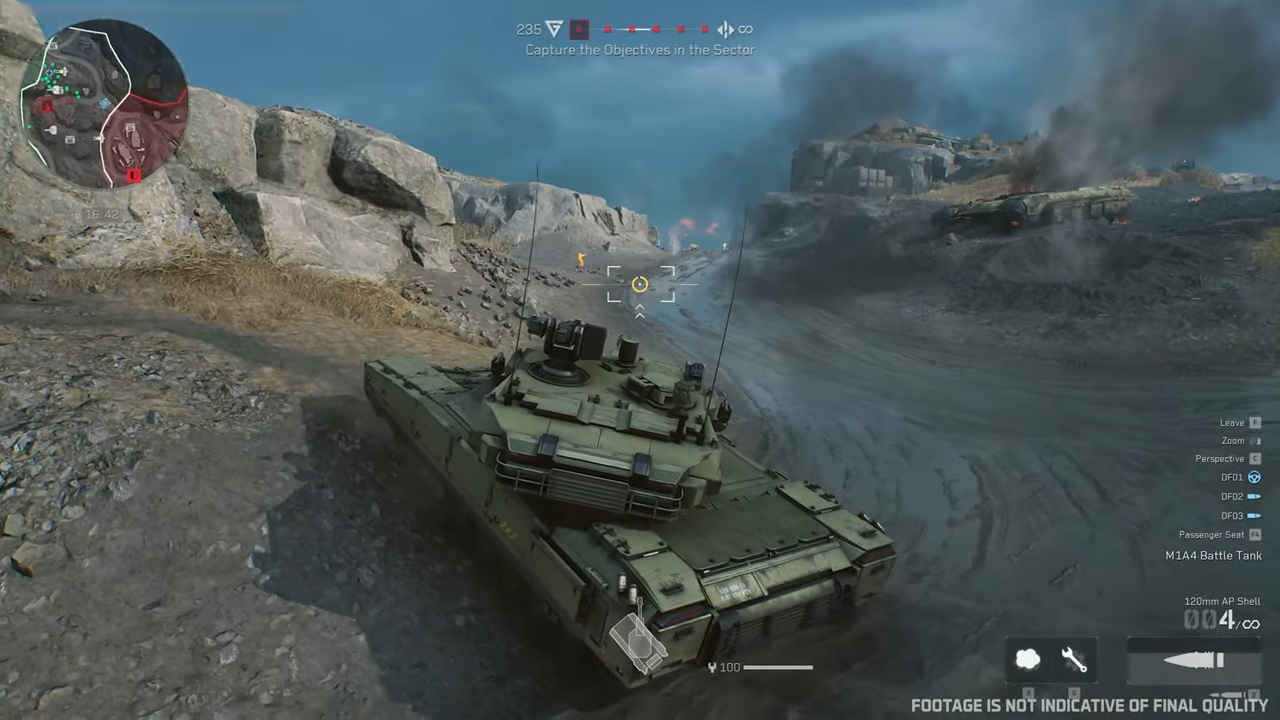
In this Delta Force Tank Guide we will focus on one of the most dominant and crucial assets in land warfare. The M1A4 Battle Tank is Known for its formidable armor, superior firepower, and strategic importance, the M1A4 is a pivotal force in both offensive and defensive operations. This Delta Force Tank guide provides a detailed overview of the M1A4’s combat capabilities, crew positions, weapons, and tactical strategies required to effectively deploy this powerful machine.
 Combat Positions: Maximizing Operational Efficiency
Delta Force M1A4’s success on the battlefield depends on the skillful coordination of three key positions: the Driver, the Weapon Station Operator, and the Weapon Pod Operator. Each role is vital in ensuring the vehicle operates efficiently during combat.
1. Driver Seat
- Role: The driver controls the movement of the tank and is responsible for tactical positioning and navigation. The driver must manage the tank’s speed, maneuverability, and engage or disengage from combat as required.
- Weapon Management: In addition to driving, the driver controls the tank’s primary and secondary weapons. As the tank levels up, weapons can be reconfigured to match the operator’s preferences and combat strategy.
- Defensive Measures: The driver also has the responsibility to deploy smoke grenades for vision obstruction and engage emergency repairs if the vehicle sustains damage.
2. Weapon Station Operator
- Role: The weapon station operator controls the secondary weapons, specifically the coaxial machine guns. These machine guns are essential for engaging infantry and light vehicles, providing sustained suppressive fire in combat.
- Weapon Choices: Depending on the loadout, the operator may have access to a light or heavy machine gun. The light machine gun is effective for fast engagements, while the heavy machine gun offers increased range and damage output.
3. Weapon Pod Operator
- Role: The weapon pod operator is responsible for deploying advanced munitions from the vehicle’s weapon pod. These systems are crucial for targeting vehicles and infantry in a variety of scenarios, especially for long-range engagements or when attacking enemy units behind cover.
- Weapon Options: The weapon pod offers several specialized options, including rocket barrages, kinetic grenades, and mortars, each suited to different tactical situations.
Weapons and Ammunition Types
Primary Weapon: Main Cannon
- Armor-Piercing Shells: These shells are versatile and can target both enemy infantry and vehicles. They are the most commonly used shell type due to their balance of effectiveness against various targets.
- High-Explosive Shells: These shells offer a larger blast radius, making them ideal for clearing infantry or soft targets. However, they are less effective against armored vehicles and suffer from slower travel speeds.
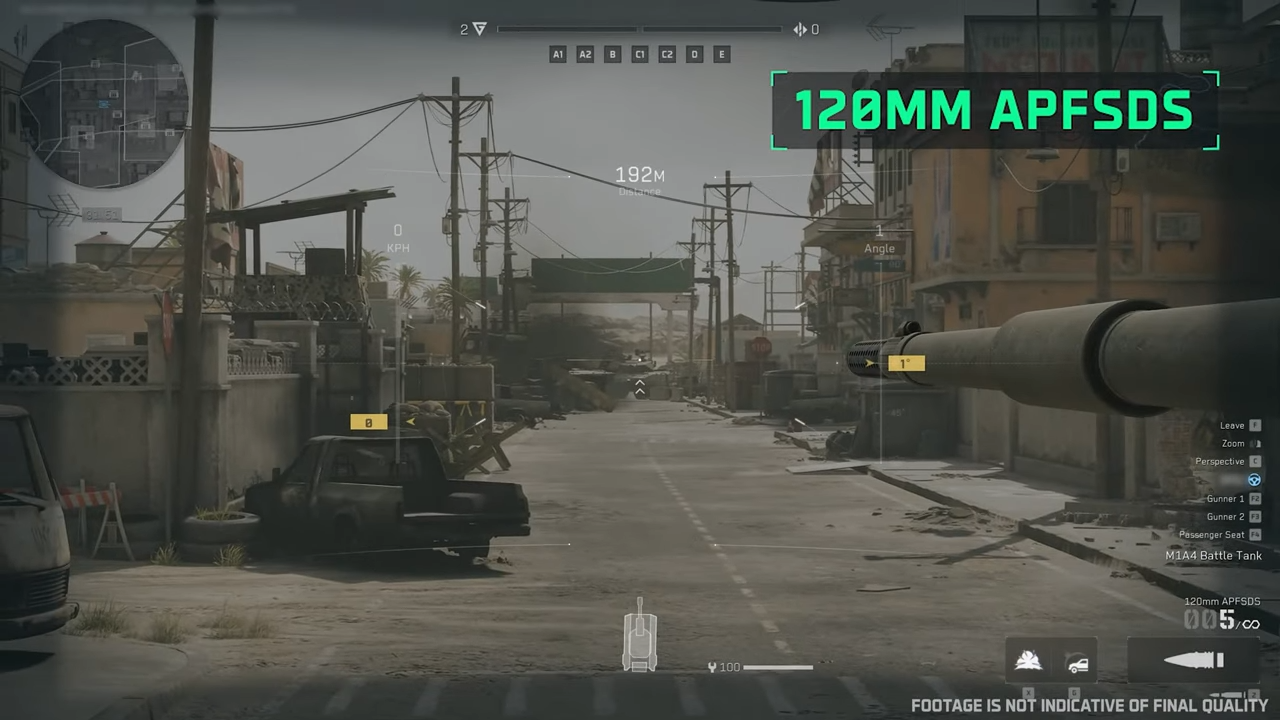
- Armor-Piercing Fin-Stabilized Discarding Sabot (APFSDS): APFSDS shells are designed for high-velocity, precise strikes against armored vehicles. They have minimal drop, exceptional armor penetration, and are particularly effective in long-range engagements.
 Secondary Weapons
The driver can select between two variants of coaxial machine guns:
- Light Machine Gun: Offers rapid fire, making it effective for suppressing enemy infantry. It has a shorter range and deals less damage per shot than the heavy machine gun.
- Heavy Machine Gun: Delivers higher damage with greater range, making it effective against unarmored vehicles and distant infantry, though its slower fire rate may limit its use in fast-paced engagements.
Weapon Pod Options
- Rocket Barrage: A volley of small rockets designed to engage enemy vehicles. While powerful against armored units, its effectiveness against infantry is limited.
- Kinetic Grenades: These grenades are designed for high fire rates and ricochet properties, making them ideal for targeting enemies hiding behind cover.
- 40mm Canister Round: A close-range weapon that delivers significant damage to infantry, especially when defending against anti-vehicle operators or protecting allies.
- Multi-Weapon Pod: Fires a salvo of four grenades, offering area denial and damage to enemies in close proximity. Though effective, it has a slower reload speed compared to other weapons.
- Mortar: Mortars are ideal for attacking or defending objectives, delivering heavy damage over a wide area. They are particularly effective against clustered enemies but require precision and practice to use effectively.
Tactical Maneuvers and Defensive Strategies
Driver’s Role in Evasion and Defense
- Tactical Movement: The driver must be proactive in maneuvering the tank to avoid enemy fire, especially from anti-tank units. Avoiding open areas and seeking cover when possible can reduce the risk of taking damage.
- Smoke Grenades: Deploying smoke grenades can obscure the tank’s position, providing a temporary advantage in evading detection or missile lock-ons.
- Thermal Smoke Grenades: When equipped, these grenades interfere with thermal targeting systems, offering additional protection from guided missiles.
Damage Control
- Emergency Repairs: When the tank sustains damage, the driver can activate the emergency repair function to restore vehicle durability. In situations requiring more advanced defense, the active defense module can destroy incoming missiles or shells. However, it has a cooldown period, so its use must be strategic.
That said, this guide should be sufficient for anyone who wants to learn about the M1A4 Battle Tank. If you have any additional tips and tricks to share, feel free to comment and we will add yours to the guide as-well.