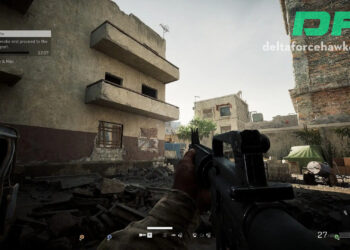
In Delta Force Extraction Mode, understanding how different ammo types, armor penetration, and damage mechanics work is crucial for gaining an advantage in battle and making smart gear choices. Whether you’re aiming to win more fights or conserve resources, knowing the ins and outs of armor and ammunition will help you become more efficient in this extraction shooter.
Armor and Its Tiers
Armor in Delta Force comes in six distinct tiers, each offering varying levels of protection. The tiers range from gray (level 0 protection) to red (level 6 protection). Each armor set includes both a helmet and a vest, and their protection can vary in terms of durability, with higher-tier armor offering more protection and higher durability.
- Tier 0 (Gray): Protection 0
- Tier 1 (Green): Protection 1
- Tier 2 (Blue): Protection 2
- Tier 3 (Purple): Protection 3
- Tier 4 (Gold): Protection 4
- Tier 5 (Red): Protection 5
Different armor types also provide protection for specific body parts, with some covering the chest, abdomen, and even shoulders, while others leave arms and legs exposed. This factor can impact how efficiently you deal damage to your opponent.

Ammo and Penetration Mechanics
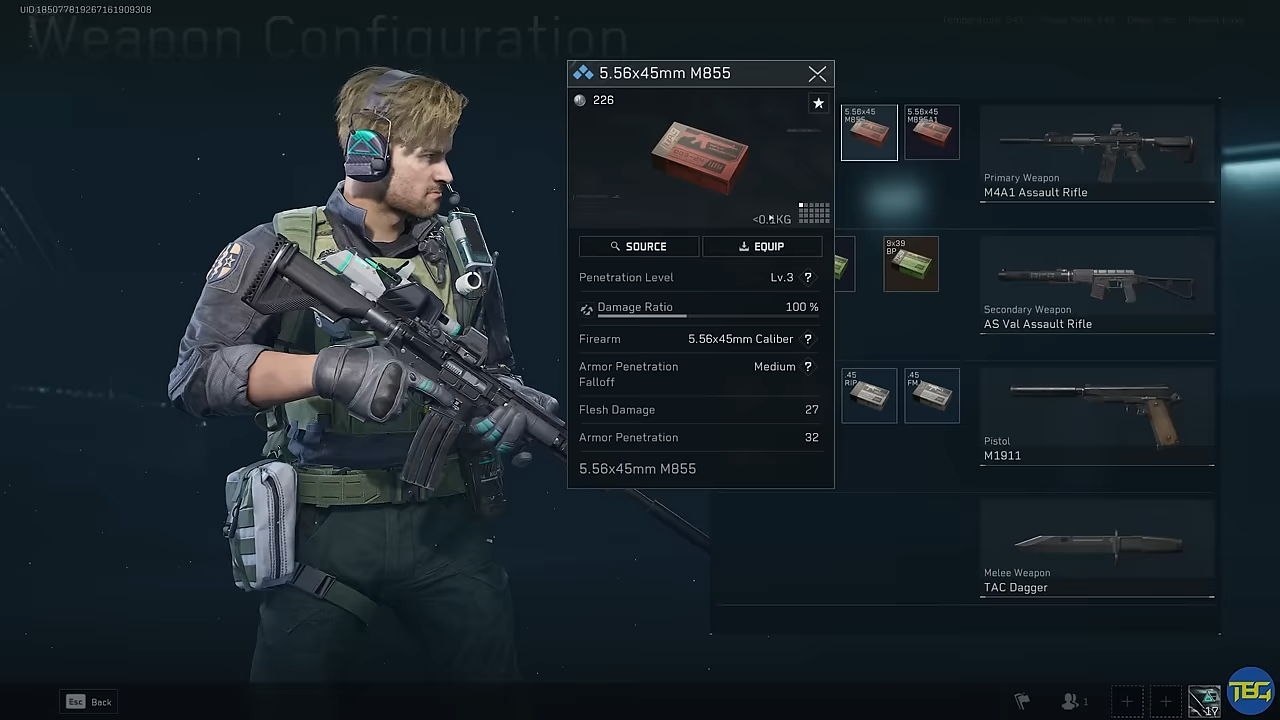
Ammo in Delta Force is divided into tiers based on its penetration value, which can range from 1 to 7. The penetration value determines how well bullets can pierce through armor and deal damage. When ammo is fired at armor of the same or lower tier, it will partially or fully penetrate the armor and do full damage to the player behind it.
Here’s how ammo performs against different tiers of armor:
- Green Ammo (Pen Level 2): Fully penetrates Tier 1 armor, partially penetrates Tier 2 armor, and doesn’t penetrate Tier 3 or higher armor.
- Blue Ammo (Pen Level 3): Can penetrate through Tier 2 armor fully, deal partial damage to Tier 3 armor, and zero damage to Tier 4 armor and above.
Ammo vs. Armor: Practical Examples
When you shoot an opponent, the results depend on the ammo’s penetration level relative to the armor’s tier:
- Shooting Tier 1 armor with green ammo results in full penetration and full damage.
- Shooting Tier 2 armor with green ammo results in partial penetration and reduced damage.
- Shooting higher-tier armor, like Tier 3, will require more shots as the armor absorbs damage, reducing the overall effectiveness of the ammo.
Weapons with higher penetration values, such as the Val (Pen Level 48), allow for faster armor breaks, enabling you to do full damage to the target.
Ammo Types and Cost Considerations
Different ammo types also come with varying costs, so being economical with your ammunition choices is important when planning a raid. For example:
- Purple Ammo (Pen Level 4): Expensive, with some rounds costing up to 5,000 per round.
- Standard Ammo (Pen Level 3): More affordable, with ammo for certain weapons costing only around 1,000 per round.
Understanding the cost of ammo and choosing wisely based on your objectives and resources can significantly impact your in-game economy.

Tactical Decisions: Headshots, Limbs, and Damage
While penetrating armor is essential, it’s also worth noting that body parts outside of the armor (such as limbs or the head) can still be targeted. In many cases, aiming for these areas can lead to quicker kills, as headshots or limb shots bypass armor and deal full damage.
Some ammo types, like RIP rounds, increase damage against unarmored targets, making them particularly useful for targeting limbs or heads of high-armored opponents.
Conclusion
Mastering the interaction between armor, ammo, and damage is key to surviving and thriving in Delta Force Extraction Mode. Whether you’re going for full armor penetration or aiming for critical headshots, each decision you make about ammo and gear can tilt the odds in your favor. Keep these mechanics in mind to become a more efficient and tactical player, optimizing both your damage output and gear economy.