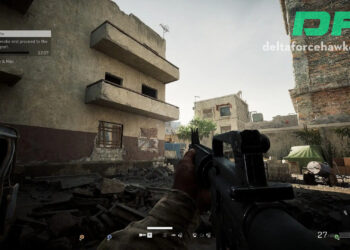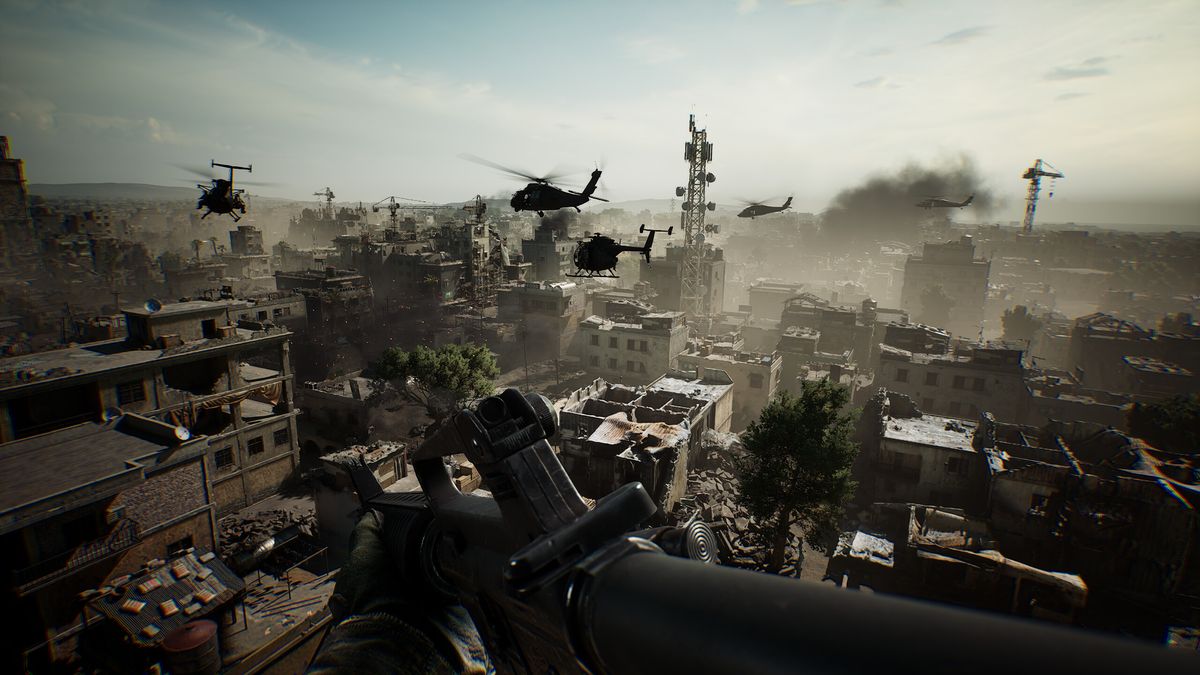
Whether you’re playing the multiplayer mode or the newly released Black Hawk Down co-op campaign, Delta Force can benefit significantly from some key optimization tweaks. This guide covers everything from disabling forced anti-aliasing to configuring graphics settings for maximum performance without sacrificing visual quality.
Disabling Forced Anti-Aliasing
First, close the game and follow these steps to disable the forced TAA (Temporal Anti-Aliasing) for a clearer image:
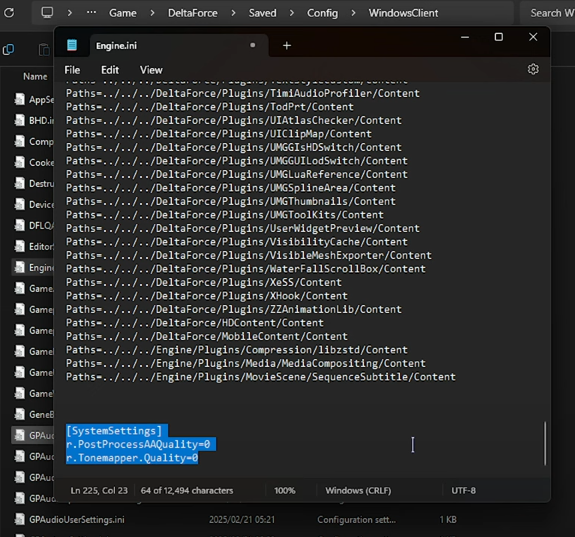
- Navigate to your game installation folder:
- In Steam: Right-click the game → Manage → Browse local files
- Open these folders in sequence:
- Game → Delta Force → Saved → Config → WindowsClient
- Find and open
Engine.iniwith a text editor like Notepad - Add these lines at the very bottom of the file:
[SystemSettings]

r.PostProcessAAQuality=0 - Optionally, to disable chromatic aberration (the red/blue color shift effect), also add:
r.TonemapperQuality=0 - Save the file and close it
In-Game Settings Optimization
Game Tab
- Scope Magnification Adapts Automatically: Test this setting as it affects recoil and mouse feel differently for different players
Keyboard and Mouse Tab
- ADS Sensitivity Type: Change from “FOV Only” to “Set Sensitivity Per Zoom” and set all values to 1 for consistency
- ADS Sensitivity Multiplier: Consider setting to 0.5 for better precision
- Control Settings: Change these from Toggle to Hold for a more familiar FPS experience:
- Lean Peak Left/Right
- Aim
- Hold Breath
Screen Tab
- Show Performance Parameters: Enable to monitor FPS, ping, and packet loss
Graphics Tab

Display Settings
- Display Mode: Use Fullscreen for best performance, or Borderless Window if you frequently alt-tab
- Match Frame Cap: Set slightly below your average FPS (e.g., if you get ~120FPS, cap at 100FPS)
- This frees up system resources for background applications
- Consider lowering further when in the main menu
Basic Graphics Settings
- Field of View: Personal preference
- Scope Magnification: Turn off for better performance
- V-Sync and Fast Sync: Disable both for lower input latency
Texture Quality Optimization
For systems with limited performance, consider raising only the texture quality based on your VRAM:
- 4GB VRAM: Low
- 6GB VRAM: Medium/High
- 8GB VRAM: High/Ultra
- 10GB+ VRAM: Extreme/Ultimate
Optimized High-End Settings
If you’re starting from Ultra preset, make these adjustments:
- Ambient Occlusion: Lower to Medium
- Depth of Field: Disable
- Weapon Motion Blur: Disable (personal preference)
- Volumetric Fog: Set to Low for better visibility and performance
Super Resolution
- DLSS/FSR 2: Set to Quality mode for the best balance
- NVIDIA Reflex Low Latency: Enable if using an NVIDIA GPU
- DLSS Frame Generation: Disable for competitive play, even on RTX 40 series cards
Audio Tab
- HRTF: Adjust for better spatial positioning
- Voice Volume: Consider lowering in multiplayer
Final Step: Recompile Shaders
After making all your changes, click the “Recompile Shaders” button at the bottom of the settings menu and restart your game. This might take longer to start up, but will optimize performance for your current settings.
Performance Impact
With these optimizations, you can expect a significant FPS boost—potentially from around 90 FPS to 120 FPS in many cases, allowing for a smoother experience in both the multiplayer mode and the new Blackhawk Down co-op campaign.